Step 1: Select a Payroll
On-Screen Instructions: Select a payroll to run, and then choose a time entry type. Choosing Grid Entry will still allow you to use the Detail Entry.
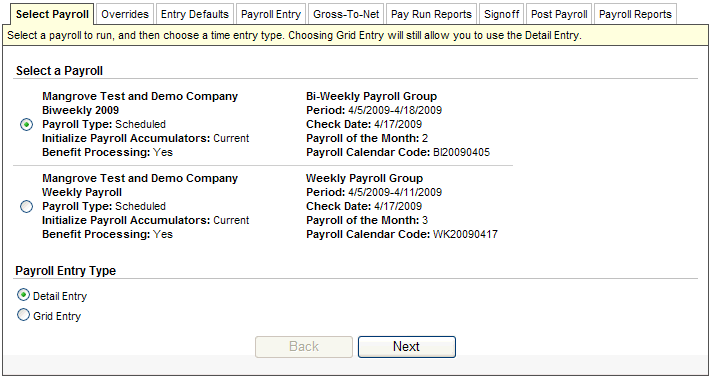
Opening Page of the Payroll Wizard
On-Screen Instructions: Select any custom overrides for deductions. You may also override net pays and force all payments to check.
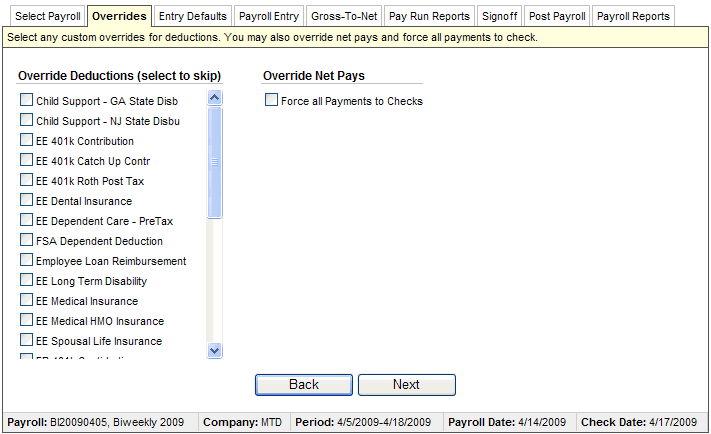
Payroll Overrides during the Payroll Wizard
On-Screen Instructions: Choose your time entry defaults. To change the pay calendar, go back to the first page in the wizard.
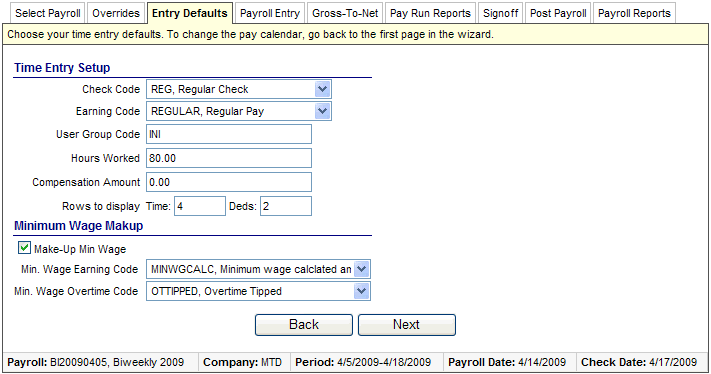
Entry Defaults for Detailed Pay Entry during the Payroll Wizard
On-Screen Instructions: Enter the detail time for the employees. Use the toolbar in the middle to perform common operations on the time data.
![]()
Detailed Pay Entry during the Payroll Wizard
On-Screen Instructions: Payroll operation in progress. Please wait...
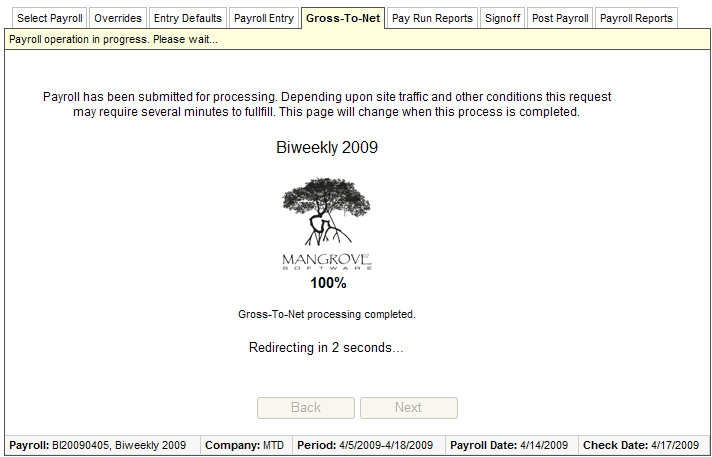
Gross-To-Net Processing
On-Screen Instructions: Please review the pay run reports.
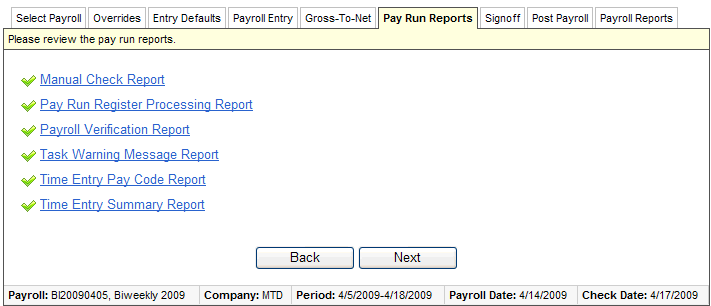
Pay Run Reports
To reset the un-posted payroll, you would click on Back.
To continue, click on Next.
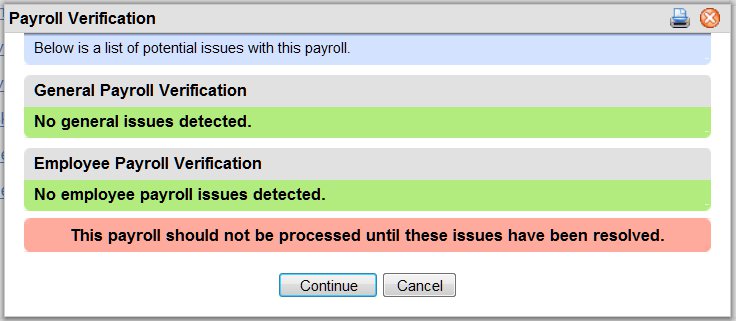
Payroll Verification
A Payroll Verification screen displays potential issues with the payroll.
On-Screen Instructions: Review the pay run and approve to post process.
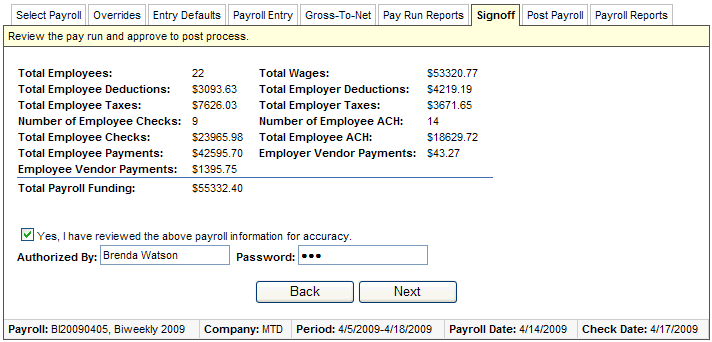
Payroll Summary and Signoff from the Payroll Wizard
Click on Next to finalize the payroll.
If you were authorized to post the payroll, wait while payroll processes and posts. If you were not authorized to post, then the wizard closes without showing the payroll posting process and your payroll service provider is responsible for completing posting.
On-Screen Instructions: Payroll operation in progress. Please wait...
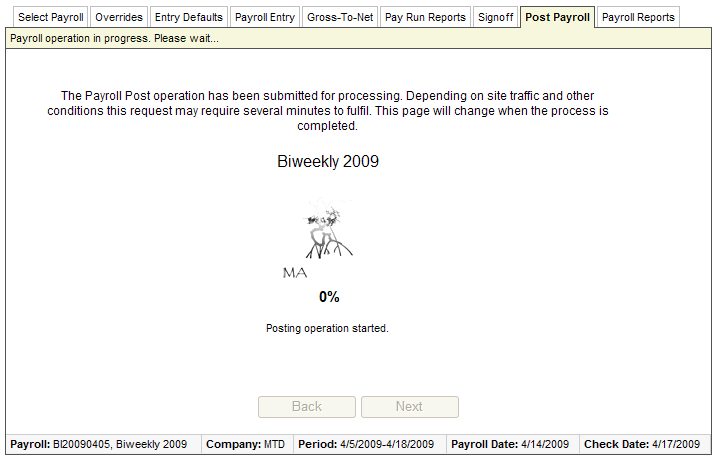
Payroll Posting from the Payroll Wizard
Now that the payroll is finalized and posted, a list of Payroll Reports displays so that you can print Payment forms and other payroll reports.
Click on a report'stitle to run it.
If you have access to print checks, to print checks, click on the check report: Print Payroll Checks. When checks have been printed, click on the checkbox to "Mark Checks As Printed" and to exit the Payroll Wizard, click on the Finish button.
If you don't print checks, leave the checkbox to "Mark Checks As Printed" clear, and click on Finishwhen you are ready to close the wizard.
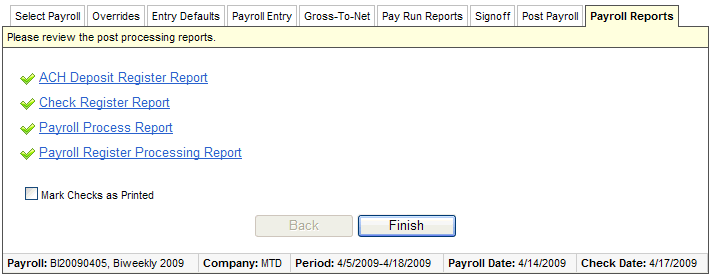
Payroll Reports from the Payroll Wizard